Tuesday 27 August 2013

The Sublime: Reference Image

The Great Blue Hole - Belize

I chose this image as a reference for 'The Sublime because it has a great relation to my own island and ideas. I have intended to create a sublime environment for a tropical environment and a dark, gloomy environment, on the same island. I plan to separate these environments with mountains. Intended to give the viewer a feeling of both extremes.

Week 3 Reflection

The Picturesque

In week 3's lecture we examined the picturesque. The picturesque is intended to create an immersing feeling for the viewer by using a foreground, middle ground and a background. Using these three assets we had to create a meaningful and interesting scene.

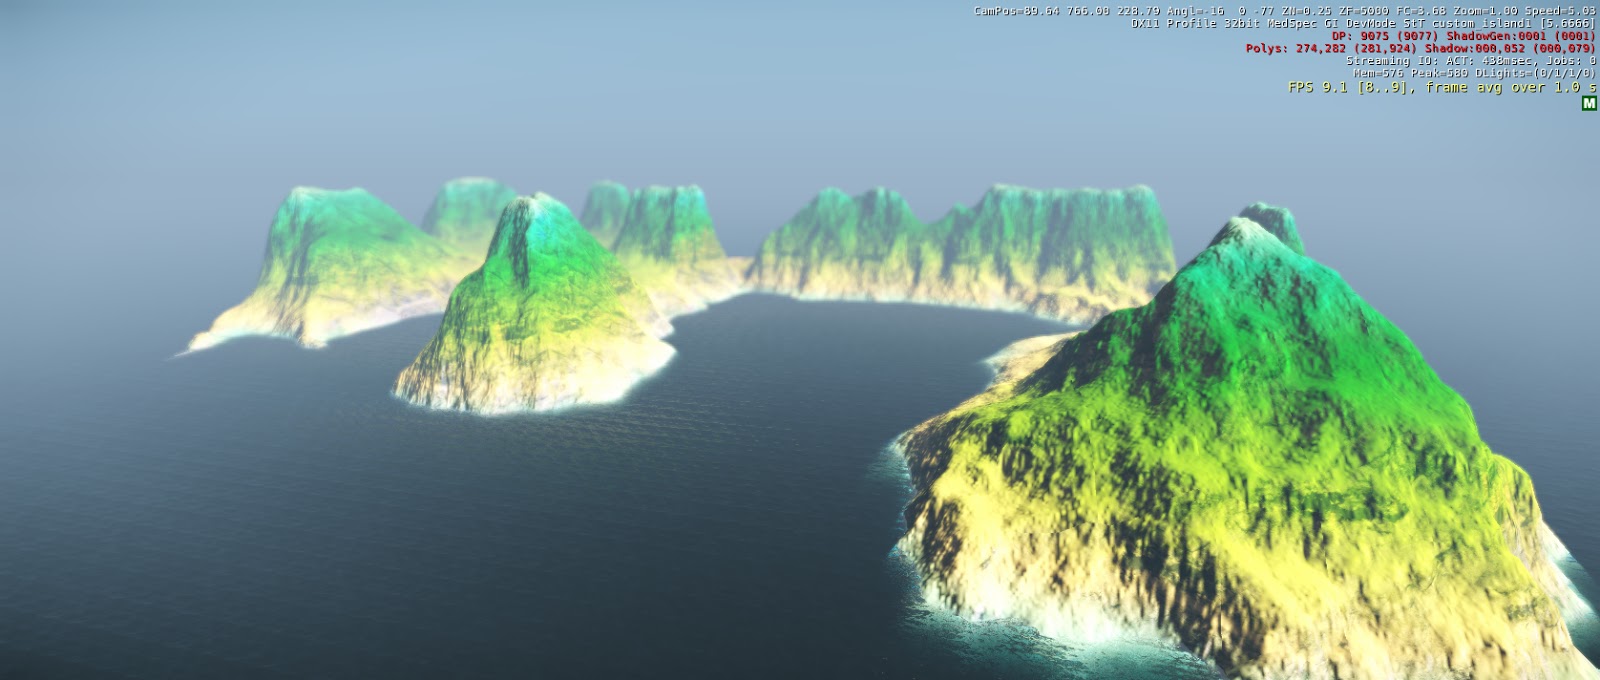
For my particular project I would have to immerse the viewer into a scene of paradise, pure beauty and a sense of relaxation. While doing this I would also have to create a lonely and desperation scene, as I intend to give the viewer a sense of trying to search for a better place and a sense of desperation during that search.

The examples shown in the lecture and the reference images that we were asked to search, will be a great help in giving us an detailed idea of the picturesque. 

Short Clip 1

The Picturesque: CryEngine Interpretations


Interpretations of 'The Picturesque'. With a foreground, middle ground and a background.

Monday 12 August 2013

Reflection Week 2

Week 2's lecture was about the real vs the unreal. It reflected on how we should pay attention to how objects act when put under certain conditions. Examples of this are noticing how light reflected of different surfaces and an interesting ways of observing how objects act under certain conditions would be destroying objects and seeing how they fall apart and change during the process.

This can put into relation to my work in the aspect of things such as weather and how certain objects would react to different conditions. Also lighting is another important aspect in my particular work because I intend to create both a scary, lonely environment and also a paradise.

Custom Terrain Applied to Island

Custom Texture Applied to Custom_Island1

Bird's-eye view of the texture. Can see the variation in colour of the same from using custom textures. A much more effective way of immersing the viewer into the scene. 

Close up of the sand texture applied along the coast. The variation in colour is noticeable but could be enhanced with further experimentation.


New Terrain Texture

Beach Sand


This is the custom texture I decided to use for my project. I chose this because it is going to be a main feature in my particular project so I wanted to make it look as interesting and detailed as possible. I hope to improve on the result that I have achieved so far.

3 Screenshots: Second Island

GeoControl Landscape w/GeoControl Texture


Thursday 1 August 2013

Reflection Week 1

Week one of BENV2423 consist of showing us work from previous years, giving us an idea of what is the kind of work that we are going to be producing. We got an introduction to the experiments that we'll be undertaking in this semester and in the tutorials we revised and freshened up our CryEngine 3 skills while learning some new techniques as well.

After seeing work from previous students of BENV2423 I have realised that the standard is quite high. The level of creativity is quite high, being able to incorporate the last letter of their name and the last number of their student number within the video in a very interesting way. While watching I realised that a good and efficient development of techniques using the programs we will be using is very important. The more we learn the programs the faster we'll be and in case mistakes are made we can quickly recover and change them. We will also be learning new programs such as video editing programs, which will also be very interesting.

After an introduction to the first experiment and a presentation of previous students work I have had a thought about what I am going to do, nothing in detail yet and the idea might change. The work from previous students gave me the impression that these students were at a very proficient level, not only in their creativity but also there attention to detail and their knowledge of the programs. 

In the tutorial we revised on some CryEngine 3 and I learned a lot of new techniques that I previously did not know. Not only was it a revision but it was a lesson in it self. Techniques such as shortcuts and ways you are able to customise your tools bars to have it exactly the way you want to suit your current project.

In conclusion this was a very resourceful week, giving us a head start and pushing us to start thinking about ideas. The blogging that we did for week one freshened us on our CryEngine 3 techniques and tricks so we should be ready to begin our experiment.

5 Shortcuts in CryEngine 3


  1. Press 'M' to open the materials editor
  2. Press 'Q' to turn on/off terrain clipping. You will still be able to move through objects when this is turned on.
  3. Press 'ctrl+G' to enter the game mode. In this mode the physics of the game activates and you are able to freely explore the level. In this mode you enter the mode of what you see is what you get.
  4. Press 'spacebar' to turn off/on previous entities or tools selected before the spacebar was press.
  5. Press 'G' to snap to grid. This would be useful for getting objects/entities to be placed accurately.

3 Ways of Moving Around the Viewport


  1. FPS Controls: Those who are familiar with fps controls will find moving around within the viewport very easy. You can use the basic fps controls to move around within the viewport, these are 'W' to move forward, 'S' to move backwards, 'A' and 'D' to move left and right. These are quick panning tools and used in conjunction with the mouse this is probably the easiest and quickest way to move around.
  2. Mouse Controls: You can use the right-click on the mouse to look around. This is a convenient control when used with the fps controls. The scroll button, if clicked is used for panning. Scrolling the mouse makes you go back and forwards.
  3. Move Faster: You can move around faster by holding the shift button in combination with what ever movement style you want (mouse with keyboard or just the mouse).

5 Ways To Customise Your Sandbox Editor


  1. Combining tools into one window: You can drag an open tool into the same window as another tool which is also open. You can do this with multiple tool sets. This could be useful in situations where one tool set is use often in conjunction with another tool set.
  2. Attaching an open tool panel to your working space: If a tool panel is open, for example the materials tool panel, It can be attached to the sides of you working space so it remains opened and attached to the window. This is done by simply dragging the panel to whatever side you desire on your viewport/working space. This would be useful for tools that are used often so it would not require you to re-open it over and over again.
  3. Turning tool bars on/off: You can turn the majority of your tool bars on/off by simply right clicking on them and unticking the one that you would like to turn on/off. This would be useful to create more space for you to work with or just simply remove tools that are not used for a particular project.
  4. Customising tool bars: You can make your own customised tool bars by right-clicking on an empty space on the tool area and click on customise. This allows you to create your own tool bars. You have the ability to combine tools or add new tools such as show the time on the tool area.
  5. Show shortcut keys in screen tips: This option can be accessed by clicking on an empty space on the tool area or by going to 'Tools' and then clicking on 'Customize Keyboard'. Once on the 'Customize screen click on the 'Options' tab and then tick 'Show shortcut keys in screen tips'. Ticking on this option allows you to view the shortcut key in the screen tips as you hover over a tool. This is useful in helping you memorise the shortcut for important tools.